
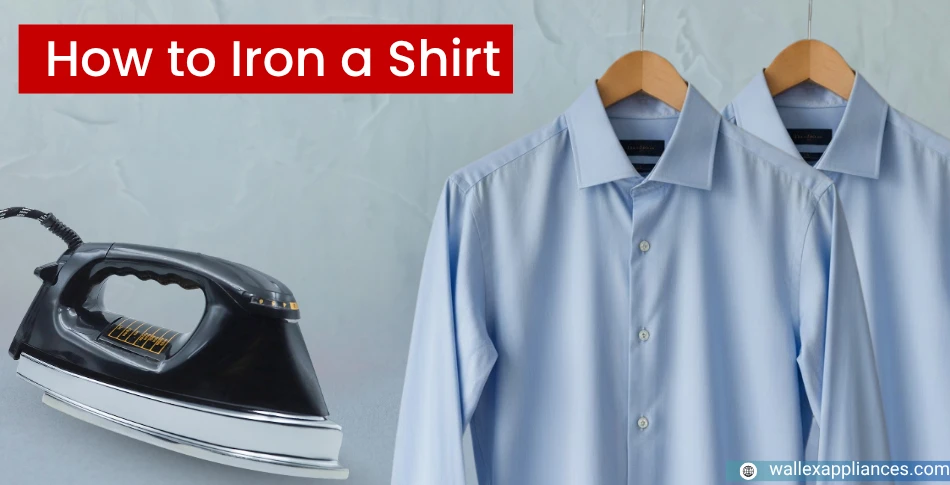
A well-ironed shirt is a matter of image, expression of personal hygiene, business and being ready for anything. No matter if it is work, a special occasion or just a need to be sure of something one wears on a daily basis, the ability to iron a shirt is a vital life skill. This guide is a compilation of tips that everyone can easily apply in real life to master the art of ironing the shirt home.
Clothes pressed right will reveal freshness, sharp and long life in your clothes. A smooth shirt does not only create a clean appearance but it also makes fabrics comfortable and strong in case they might otherwise be worn out due to the accidental wrinkling or poor storage.
Good preparation produces great results:
Read More: How to Clean Iron Press
A systematic sequence is the most effective and does not re-wrinkle itself. The following are the steps on how to iron a shirt to a clean finish:
Collar
Lie down, and, on each side, begin at the outer edges, and move inwards. Grab a firm pressure to take a shrewd glimpse.
Shoulders/Yoke
Use the narrow end of the board while ironing the shoulder areas. The seams are ironed outwards, without pucks.
Cuffs:
Unbutton and flatten. Iron all sides, especially seams. With French cuffs, crisp edges are to be paid special attention.
Sleeves:
Beginning at the cuff, and heading towards the shoulder. Same with the other side.
Front Panels
Circle the buttons and pockets with the tip of your iron with gentle strokes.
Back Panel
Use broad and straight movements over the body avoiding the formation of wrinkles.
The application of your technique to all types of fabrics is a guarantee of safety and the high-quality results:
Cotton Shirts
Linen Shirts
Polyester Shirts
How to Iron shirt like a professional. The answer is never be in a rush there is no one-size-fits-all understanding the fabric type, read instructions of fabric care on the tag and choose appropriate settings on your iron.
Steaming is less abrasive and quicker than ironing on delicate or complex material clothes, whereas ironing provides sharpness and precision. If you are looking for a crisp and smooth collar and cuff go for ironing however a handheld steamer would be a good idea when traveling, quick freshening or on a light daily basis use, but when it comes to dress shirts, ironing is the only way to go to provide a professional finish for bold statement.
Keeping your iron well maintained means your shirts will last longer and will not attract any stains:
To keep the shirts always fresh:
The Secret of Keeping Your Shirts Clean and White in No Time is learning to iron shirts. This can help to be ready and have a clean wardrobe, look more confident, and prolong the life of the garment. In practice and attention, any person could turn-in crumpled shirts into ready to wear necessities at home. Dressmaking, fabric knowledge, and maintenance are the keys to several successful shirt ironing practices.
Ans: Start with a slightly damp shirt, use steam, and iron in smooth strokes from collar to cuffs for faster, use gentle strokes across the button panel for wrinkle-free results.
Ans: Set the iron to high heat with steam as fabric is thick and prone to creasing, and press both sides of the fabric for a crisp, clean finish.
Ans: Yes, using steam or a light water spray softens fibers and removes wrinkles more effectively and it is essential for smooth ironing effect.