
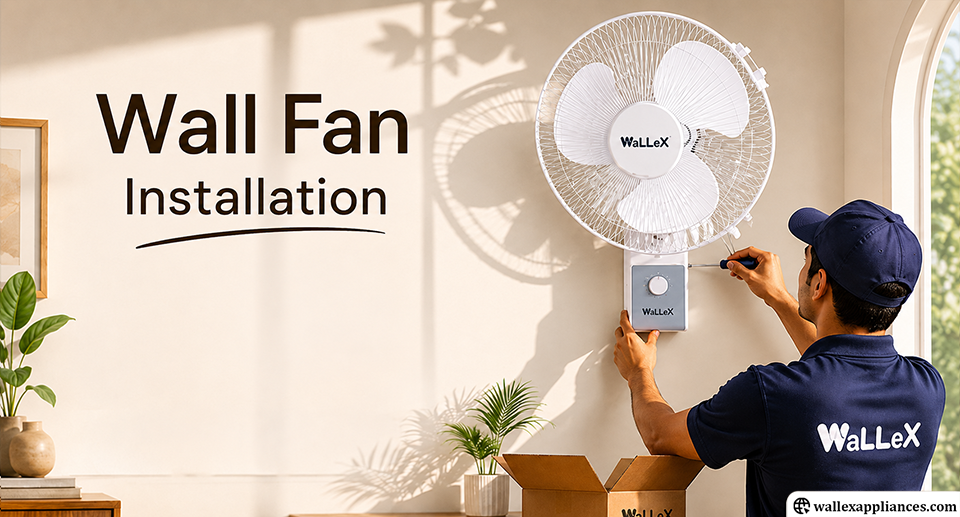
One of the smart ways to cool small areas like a kitchen, hallway, garage or a small bedroom where a ceiling fan will not work is using a wall fan. Unlike other fans that take up space on the floor or pedestal, wall-mounted fans do not create clutter, circulate air efficiently, and provide a clean appearance to any room.
However, a poorly wall fan installation can cause wobbling or even the fan falling off of the wall due to a potential wiring issue. In this guide we will take you through the process of installing a wall fan safely, step-by-step.
Prior to starting the wall mounted fan installation, prepare these items:
Having everything ready before you start saves time and prevents mid-job frustration.
Read More: How to Mount Table Fan on Wall
Choose an area that will allow the most circulation but not directly over a sitting area (which can be too strong). A side wall is best for office spaces, rather than in front or behind. Ensure its within close proximity to an electrical outlet.
Also be sure to consider the following for your overhead unit: height (7 to 8 feet for optimal air circulation), away from moisture and no obstructions above.
To find studs or solid parts of the wall use a stud finder. Use a pencil to indicate where the parts need to be mounted. Concrete or brick walls require a masonry drill bit and wall plugs.
Drill the holes at the indicated locations and place the wall anchors in place and screw the mounting bracket. After securing, pull on it to ensure it is secure! Weighing of the bracket is essential – this is the one step that cannot be ignored.
Always make sure the bracket is level, if it is not, use a spirit level to adjust it — if it is not made level then it will cause the camera to wobble later.
Remove all packing from the fan. The majority of wall fans have:
First install the back grill and then attach the blades to the motor shaft and lastly attach the front grill with clips or screws. Never over tighten screws, simply a snug fit is enough.
Before permanently hanging the fan up on the wall, connect it to a nearby electrical outlet and try all of the fan's speeds. This means that the motor and controls are functioning properly.
Hang up the fan together with the wall bracket. Plug-in models have no instructions on how to connect, so just plug the cord into the nearest outlet; cable clips will keep the cord flat against the wall.
When installing wires in hardwired installations (wires installed inside the wall), turn off the main power at the circuit breaker before installing wire. Connect live to live, neutral to neutral and earth to earth. If you do not know how to wire the electric fan, have a licensed electrician do the job.
Skipping the Stud Finder: The number one cause of fan falling off walls is to skip the stud finder and drill blind into drywall without finding the stud or anchors that the fan is intended for.
Not Leveling the Device: Vibration and noise when the fan is running, even with a slight incline.
Excessive Tightness on Screws: If you over tighten a screw, you have just made a weak point.
Not Doing Pre-mount Test: Always perform function tests before final mounting.
Exposed or Unsafely Placed Wiring: Loose or exposed cables are both an eyesore and a hazard.
Follow these maintenance tips to keep your wall fan running smoothly.
Dust Blades Once a Month: Buildup of dust lowers efficiency and the strain on the motor.
Lubricate the Motor Bearings: If grinding noises are heard, add a few drops of light machine oil to the motor bearings annually.
Check mounting screws: Inspect the fan and tighten screws as needed every six months.
Clean the Grills: Clean the grills by removing them and washing with mild soapy water.
Inspect the Power Cord: Check the power cord for any damage or fraying.
Wall fan installation is a relatively easy DIY project. Every step is important, from choosing the right location to getting the bracket, putting the components together, testing and finally installing it. Do not overlook the safety measures, and your fan will run quietly and effectively for many years.
When upgrading home cooling systems, look into BLDC wall fans as they will save you energy in the long run.
Ans: Look for any loose or unplugged parts at the power outlet, power supply cord and connections. Oscillation failures can happen most frequently when a connection is wobbly. If the connections seem good and the fan is still not swinging, it's time to call a certified technician.
Ans: Weak batteries are the most overlooked cause of remote failure. Clear the path for remote signal, replace the batteries, and try again. If the fan still won't respond after both steps, reach out to a professional technician.
Ans: A hairline crack or a minor chip can often be bonded back with a strong adhesive. However, if the blade is severely bent, snapped in two, or showing signs of corrosion in that case, replacing the blade entirely is the smarter and safer call.